
pgrading directly from Oracle 9i to 19c isn’t supported; you need an intermediate hop to a version that can be upgraded to 19c. Oracle outlines a structured upgrade workflow: prepare, test, upgrade, and validate, emphasizing backups, preupgrade checks, and a software-only install for the target home. 19c supports direct upgrades from 11.2.0.4, 12.1.0.2, 12.2.0.1, and 18c, so plan your migration path accordingly.
Supported paths from 9i to 19c
| Path | When to choose | Pros | Cons |
|---|---|---|---|
| 9i → 11.2.0.4 (imp/exp) → 19c (AutoUpgrade) | Same OS/platform, moderate database size | Familiar tools, staged risk reduction | Two-step process, needs 11.2.0.4 setup |
| 9i → new 19c (logical migration: exp/imp to 11g, then Data Pump to 19c) | Large schemas, need cleanup/transform | Clean target, segment rebuilds, easy reorg | Longer downtime, more planning |
| 9i → 11.2.0.4 → 19c (minimal-change) | Legacy app requires minimal change | Shorter overall change compared to full rebuild | Carries technical debt forward |
Sources:
Step-by-step migration plan
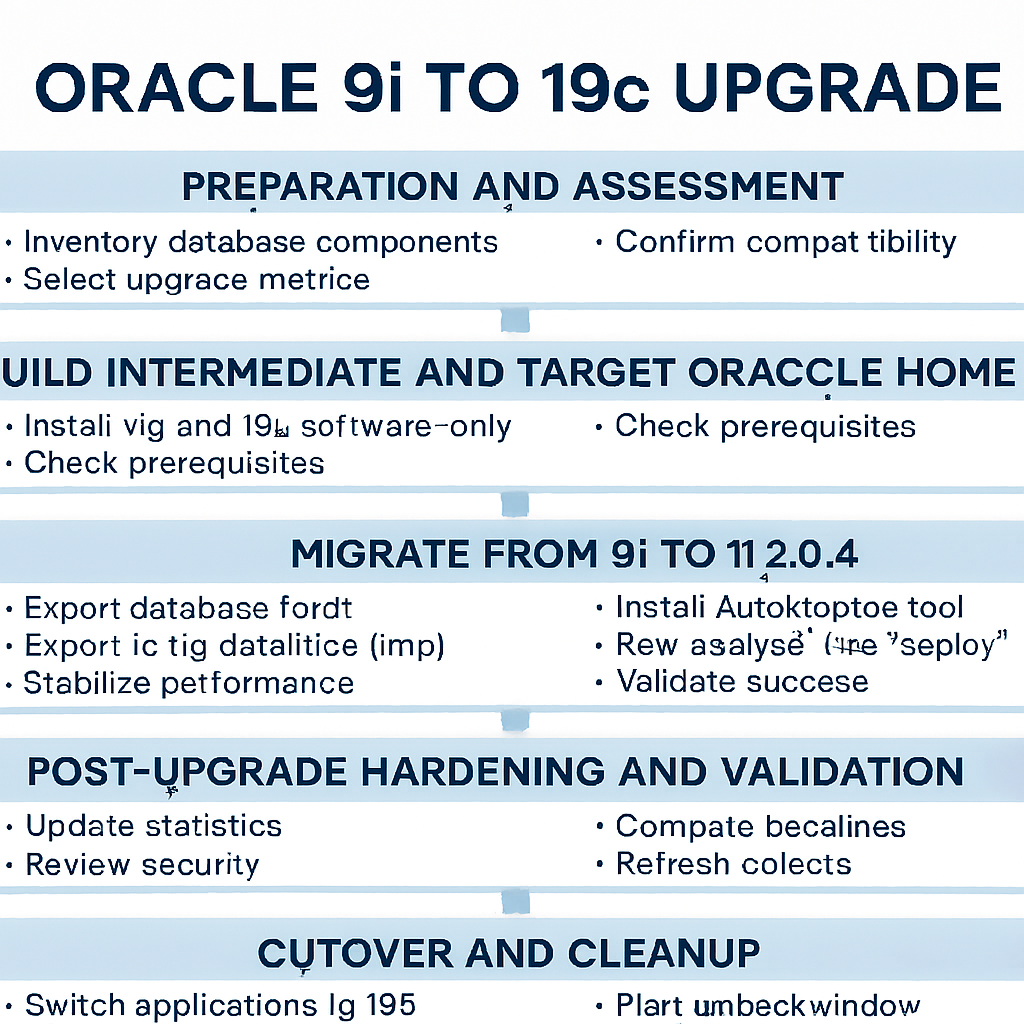
1. Preparation and assessment
- Inventory: Document DB size, character set, NLS, time zone, schemas, heavy objects (LOBs), external files, JVM use, and custom jobs.
- Compatibility: Confirm your 19c upgrade target supports direct upgrade from the intermediate version (11.2.0.4 recommended).
- Environments: Create test, staging, and production plans with rollback and full backups. Oracle’s upgrade guide recommends software-only installs to isolate upgrade testing and running preupgrade fixups.
- Select method: Choose staged upgrade (9i → 11.2.0.4) followed by 11g → 19c using AutoUpgrade.
2. Build the intermediate and target Oracle homes
- Install 11.2.0.4 (same platform as 9i) and create an empty instance for import.
- Install 19c as software-only in a new ORACLE_HOME; keep the old homes intact during testing.
- Prereqs: On Linux, use the 19c preinstall package; on Windows, ensure VC runtimes and prerequisites are met. Follow Oracle’s “major steps in the upgrade process” guidance for homes and testing.
3. Migrate from 9i to 11.2.0.4 (logical import)
- Export from 9i: Use classic exp (full or schema-level). Validate no invalid objects and fix broken constraints before export.
- Import to 11g: Create users, tablespaces, and import using imp. Resolve invalid objects and adjust parameters for 11g (e.g., optimizer settings, statistics gathering).
- Stabilize: Run application tests, gather stats, and verify performance plans. This prepares you for the supported jump to 19c.
4. Upgrade from 11.2.0.4 to 19c with AutoUpgrade
- Install and update tools: Place 19c binaries, update OPatch, and use the latest AutoUpgrade jar in the 19c home.
- Config file: Create an AutoUpgrade config mapping source and target homes, SID, and logs.
- Analyze: Run AutoUpgrade in analyze mode to detect issues and apply preupgrade fixups.
- Deploy: Run AutoUpgrade in deploy mode to perform the upgrade; set COMPATIBLE appropriately after validation.
- Testing: Oracle recommends a full test upgrade cycle and SQL plan management (capture baselines before, evolve/accept after) to mitigate regressions.
5. Post-upgrade hardening and validation
- Statistics and objects: Recompile invalids, gather dictionary and schema stats, and refresh materialized views.
- Parameters: Review deprecated/obsolete parameters; adopt 19c defaults where appropriate.
- Security: Enable auditing, review password policies, and configure encryption where needed.
- Performance baselines: Compare KPIs to pre-upgrade baselines; if regressions occur, apply captured plans or evolve them per Oracle’s SQL plan management guidance.
6. Cutover and cleanup
- Cutover: Switch application endpoints to the upgraded instance after passing tests.
- Fallback: Keep 9i and 11g environments for a defined fallback window.
- Decommission: Once stable, remove or archive legacy homes, and finalize documentation.
Practical tips for a smooth upgrade
- Keep it staged: Move to 11.2.0.4 first, then 19c; it aligns with supported upgrade paths and reduces risk.
- Use software-only installs: Test upgrades without creating new databases during installation.
- Automate checks: AutoUpgrade’s analyze and deploy modes streamline prechecks and execution; keep OPatch and AutoUpgrade updated.
- Baseline plans: Capture SQL baselines before upgrading; they’re your safety net against regressions.
Conclusion
A successful 9i to 19c migration hinges on a staged approach, disciplined testing, and automation. Move from 9i to 11.2.0.4 via logical import, then use Oracle’s AutoUpgrade to reach 19c, following Oracle’s recommended workflow for preparation, testing, upgrade, and validation.
If you share your current platform (Windows/Linux), database size, and downtime tolerance, I can tailor the exact commands and scheduling to your environment.